We discussed regarding the hardware that I use for self hosting here. Let’s prepare our Pi for selfhosting
Install Raspbian
Downloads
- Raspberry Pi Imager is the quick and easy way to install Raspberry Pi OS and other operating systems to a microSD card, ready to use with your Raspberry Pi
- Download Raspbian Lite. Choose 64 bit version
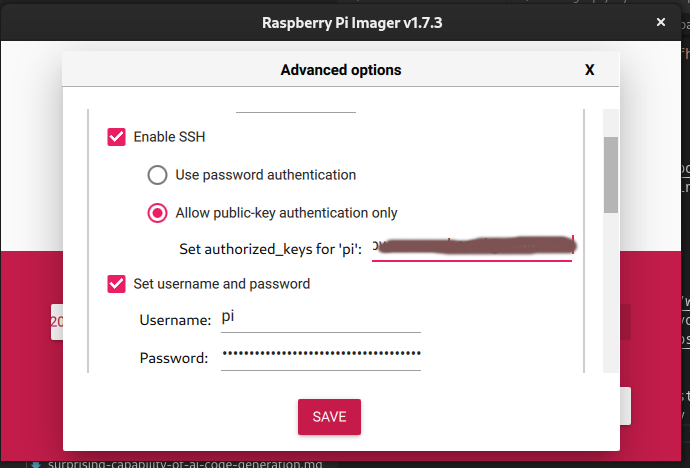
Once you have downloaded these, start imager tool. Now choose “Use custom” option and specify the OS image location. Next you have to choose the storage option which will list the memory card that you will be inserting in Raspberry Pi. Once you have set these, select the gear icon to specify initial preferences for the OS. specify below options and check the set hostname box. You can also set the locale. I am assuming you will be using Ethernet connection. But if you want to use WiFi you should set those preferences as well.
Write the image, it will take some time and will give a message when you can eject the memory card. You can now insert it in the memory card slot on your Pi. At this point you are ready to power on your Pi. Once it’s powered on, use app like Wifiman on your phone to determine IP address of your Pi. You can log into the shell of your Pi using ssh
ssh pi@192.168.1.12
It will prompt you for the password that we set earlier. Your Pi is ready to self host but let’s do some housekeeping before we install any applications.
Install Log2ram
Log2ram is required because we don’t want to write logs generated by our applications to the memory card. Instead we store those logs in RAM. This is mostly useful for preventing wear and tear of our SD card. You can follow the installation procedure of log2RAM from here
Install Podman
Podman is a tool for managing OCI containers and pods. Don’t worry about what it is and what it does. You will have your answers as soon as you start using it. You can use below command to install podman
sudo apt install podman
Now run podman ps it’s output should be clean one liner. If you see error relate to cgroup do the following:
- Create directory
mkdir -p ~/.config/containers - Add a file
containers.confin the directory created above using below command
cat > ~/.config/containers/containers.conf
[engine]
events_logger = "file"
cgroup_manager = "cgroupfs"
- Run the
podman pscommand again and the error related to cgroup should be gone.
Mount External Drives
Our apps and data will stay on external drives since we want to prevent wear and tear of memory card. Follow these steps to mount external drive:
- Your external drive should be visible in output of command
sudo blkid - Note the UUID corresponding to your drive from above command
- Create a folder like
/mnt/avalonwhere we will mount our external drive - Make backup of file
/etc/fstaband add below line at the end of file. Update your UUID and mount location and keeping everything else same.1
UUID=f8cd0001-1328-4f6a-80fa-8c7b7dea09a4 /mnt/avalon ext4 defaults,auto,users,rw,nofail,exec 0 0
You Raspberry Pi is now ready for installing self hosted applications.